Spring Boot와 Thymeleaf를 사용한 첫 번째 웹 애플리케이션 만들기
Spring Boot는 Java로 간단하고 신속하게 웹 애플리케이션을 개발할 수 있게 도와주는 프레임워크입니다. Thymeleaf는 서버사이드 템플릿 엔진으로, Spring MVC와 통합하여 HTML을 동적으로 생성하는 데 사용됩니다. 이 튜토리얼에서는 Spring Boot와 Thymeleaf를 사용하여 간단한 웹 애플리케이션을 만드는 방법을 단계별로 설명합니다.
1. 프로젝트 설정§
1.1 Spring Initializr 사용§
Spring Boot 프로젝트를 시작하는 가장 쉬운 방법은 Spring Initializr를 사용하는 것입니다.

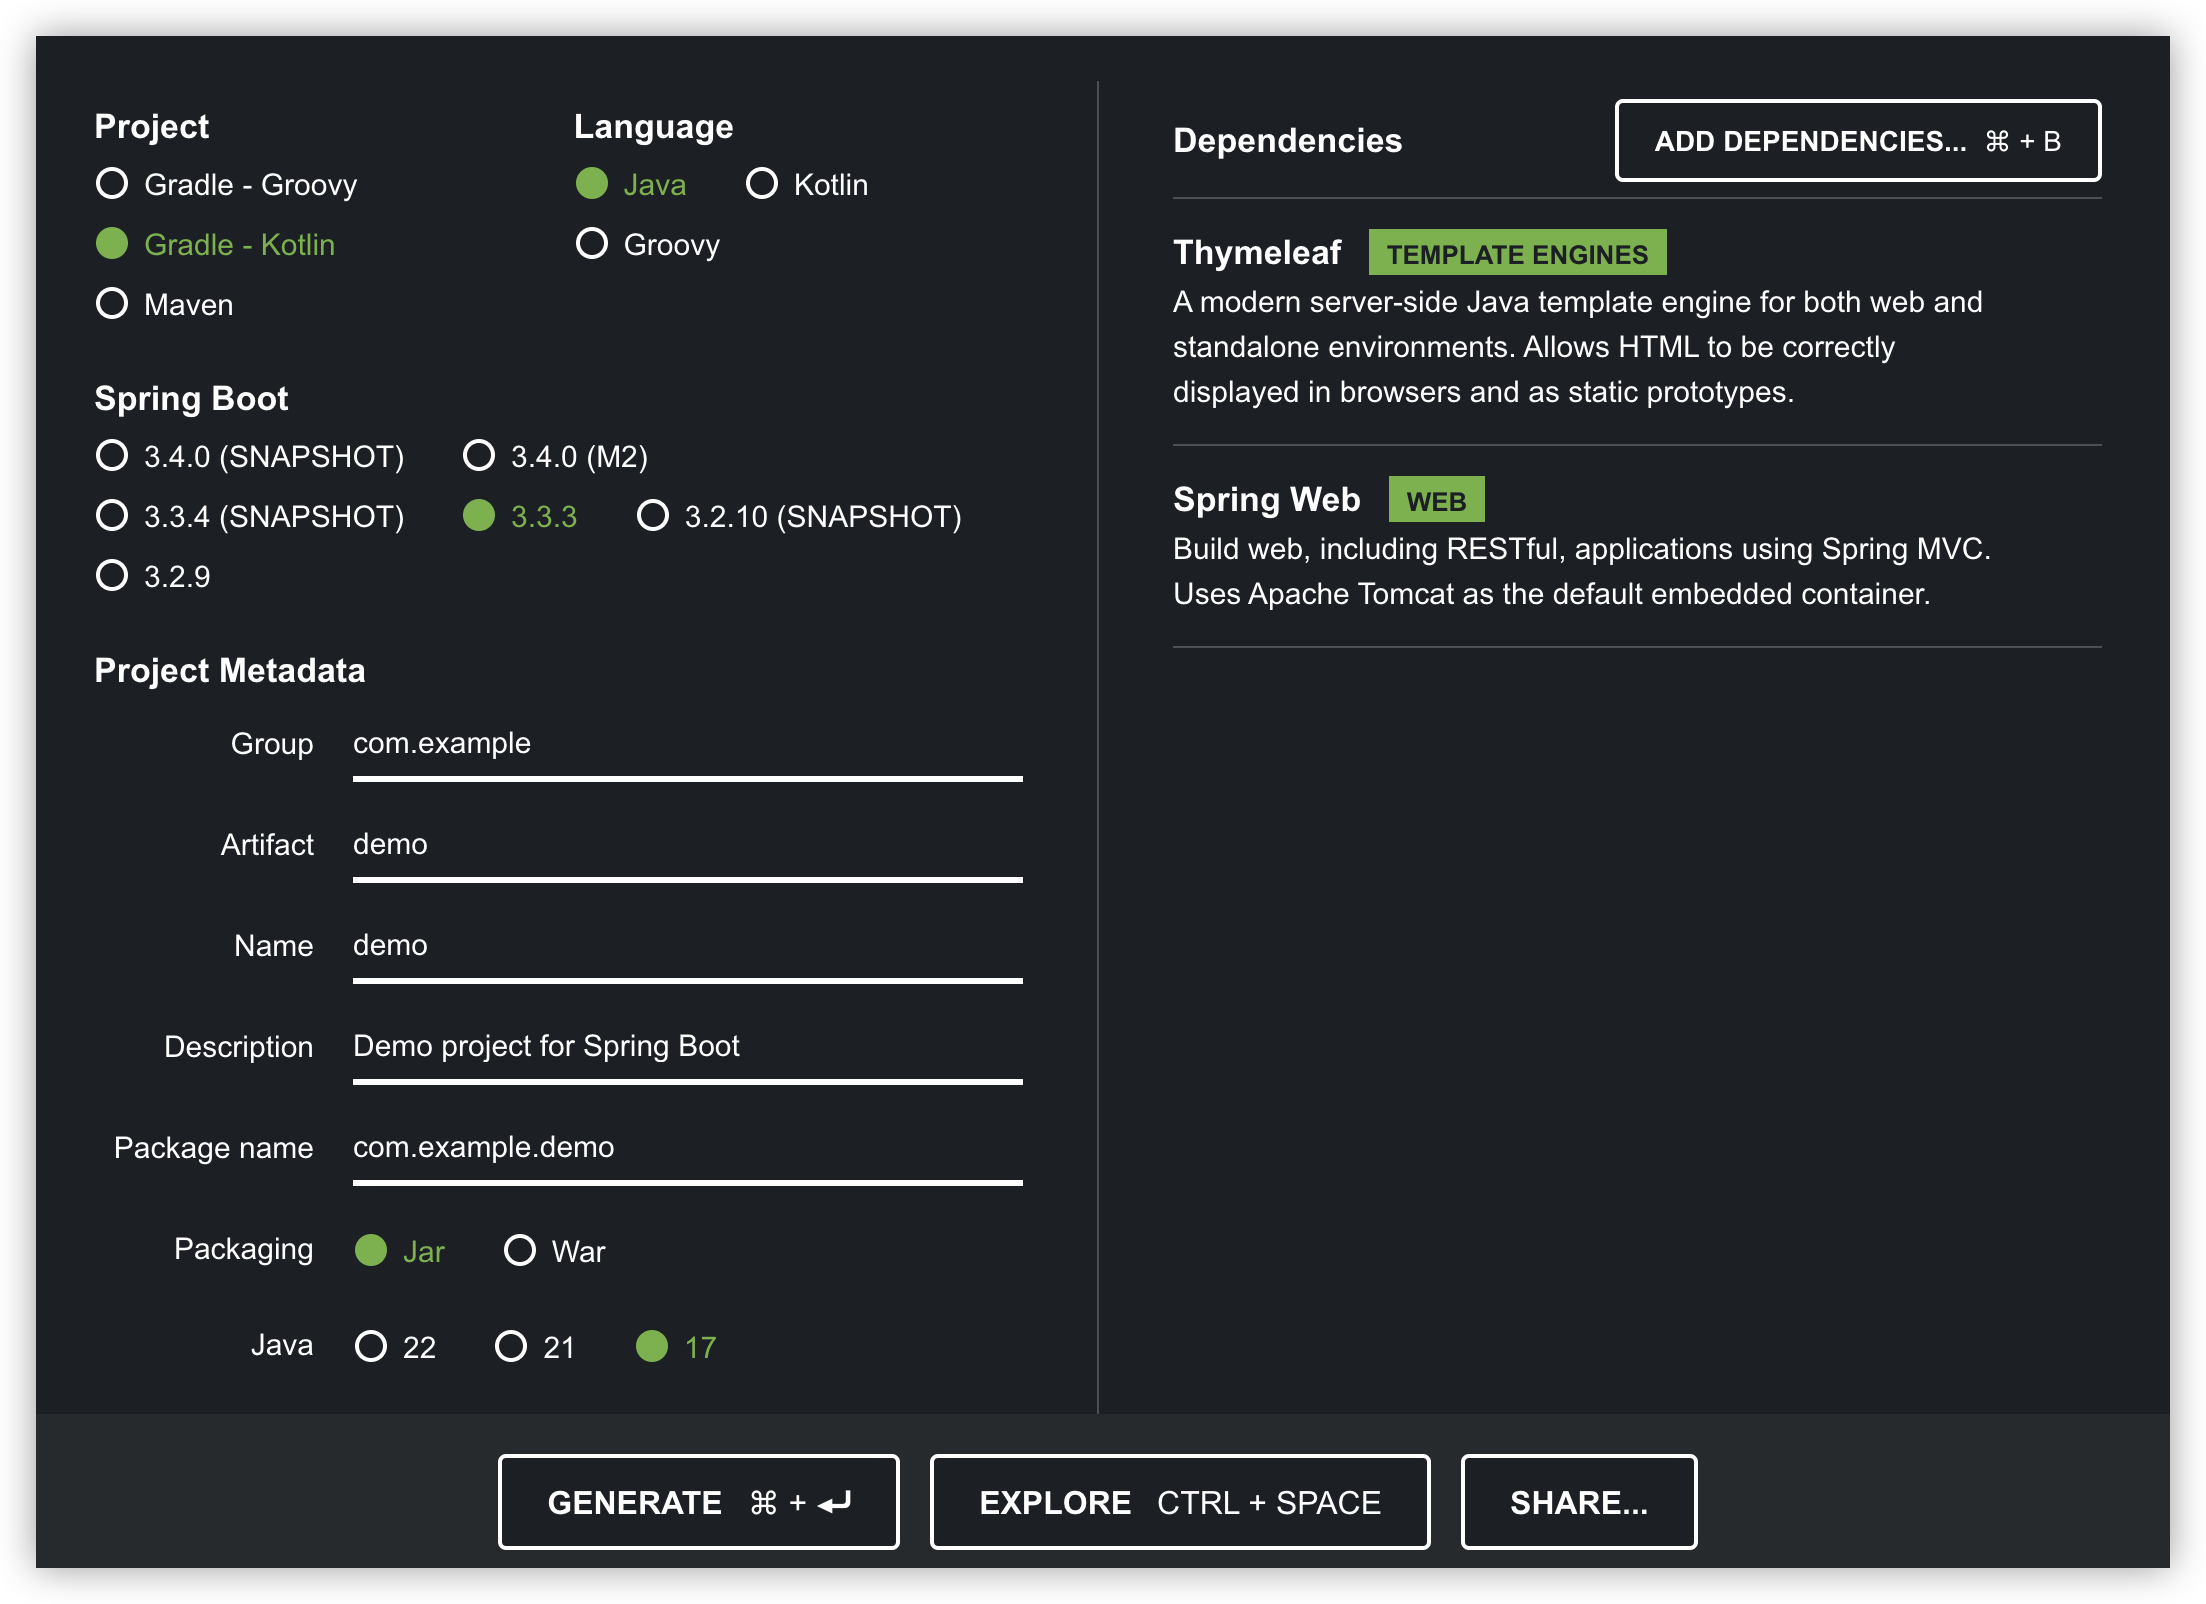
Spring Initializr 웹사이트에 접속합니다.
다음과 같이 프로젝트 설정을 합니다:
- Project: Gradle Project 또는 Maven Project (선호하는 빌드 도구 선택)
- Language: Java
- Spring Boot: 최신 버전 선택 (예: 3.0.0)
- Project Metadata:
- Group:
com.example - Artifact:
springboot-thymeleaf-demo - Name:
springboot-thymeleaf-demo - Package Name:
com.example.springbootthymeleafdemo
- Group:
- Dependencies:
- Spring Web
- Thymeleaf
“Generate” 버튼을 눌러 프로젝트를 생성하고, 다운로드된 압축 파일을 해제합니다.
1.2 IDE에서 프로젝트 열기§
선호하는 IDE(Eclipse, IntelliJ IDEA 등)에서 생성된 프로젝트를 엽니다.
2. Spring Boot 애플리케이션 개발§
2.1 기본 구조 설명§
프로젝트가 생성되면 기본적인 디렉토리 구조는 다음과 같습니다:
springboot-thymeleaf-demo/
├── src/
│   ├── main/
│   │   ├── java/
│   │   │   └── com/example/springbootthymeleafdemo/
│   │   │       └── SpringbootThymeleafDemoApplication.java
│   │   └── resources/
│   │       ├── static/   // 정적 자원 (CSS, JS 등)
│   │       ├── templates/ // Thymeleaf 템플릿 파일
│   │       └── application.properties
└── build.gradle (또는 pom.xml)
2.2 메인 애플리케이션 클래스 작성§
SpringbootThymeleafDemoApplication.java는 애플리케이션의 진입점입니다. 이 파일은 Spring Boot 애플리케이션을 시작하는 역할을 합니다. 기본적으로, 이 파일은 다음과 같은 코드로 구성됩니다:
 1package com.example.springbootthymeleafdemo;
 2
 3import org.springframework.boot.SpringApplication;
 4import org.springframework.boot.autoconfigure.SpringBootApplication;
 5
 6@SpringBootApplication
 7public class SpringbootThymeleafDemoApplication {
 8
 9    public static void main(String[] args) {
10        SpringApplication.run(SpringbootThymeleafDemoApplication.class, args);
11    }
12
13}
java
2.3 컨트롤러 작성§
컨트롤러는 사용자의 요청을 처리하고, 데이터를 모델에 담아 뷰에 전달하는 역할을 합니다. 간단한 컨트롤러를 작성해보겠습니다.
HomeController.java 파일을 com.example.springbootthymeleafdemo 패키지에 생성합니다:
 1package com.example.springbootthymeleafdemo;
 2
 3import org.springframework.stereotype.Controller;
 4import org.springframework.ui.Model;
 5import org.springframework.web.bind.annotation.GetMapping;
 6
 7@Controller
 8public class HomeController {
 9
10    @GetMapping("/")
11    public String home(Model model) {
12        model.addAttribute("message", "Hello, Thymeleaf!");
13        return "index";
14    }
15}
java@Controller: 이 클래스가 Spring MVC 컨트롤러임을 나타냅니다.@GetMapping("/"): 루트 경로(/)에 대한 GET 요청을 처리합니다.Model: 뷰에 데이터를 전달하기 위해 사용됩니다.index: 반환된 문자열은 Thymeleaf 템플릿 파일(index.html)의 이름입니다.
2.4 Thymeleaf 템플릿 작성§
src/main/resources/templates/ 디렉토리에 index.html 파일을 생성합니다:
 1<!DOCTYPE html>
 2<html xmlns:th="http://www.thymeleaf.org">
 3<head>
 4    <title>Spring Boot + Thymeleaf</title>
 5</head>
 6<body>
 7    <h1>Welcome to Spring Boot with Thymeleaf!</h1>
 8    <p th:text="'Message from Controller: ' + ${message}"></p>
 9</body>
10</html>
htmlth:text: Thymeleaf의 속성 중 하나로, 모델 데이터를 HTML 요소에 출력합니다.
2.5 애플리케이션 실행§
모든 설정이 완료되었으므로 이제 애플리케이션을 실행할 수 있습니다.
IDE에서 SpringbootThymeleafDemoApplication.java 파일을 실행하거나, 터미널에서 프로젝트의 루트 디렉토리로 이동한 후 다음 명령어를 실행합니다:
1./gradlew bootRun
bash
또는
1./mvnw spring-boot:run
bash
브라우저에서 http://localhost:8080에 접속하면 “Hello, Thymeleaf!” 메시지가 포함된 간단한 웹 페이지를 볼 수 있습니다.

3. 결론§
이 글에서는 Spring Boot와 Thymeleaf를 사용하여 간단한 웹 애플리케이션을 만드는 방법을 배웠습니다. 이 예제는 Spring Boot의 기본적인 사용법을 익히고, Thymeleaf 템플릿 엔진을 사용하여 동적인 HTML 페이지를 생성하는 방법을 이해하는 데 도움이 되리라 믿습니다.
![[Spring Boot] + [Thymeleaf] 시작하기](https://media.dev.to/cdn-cgi/image/width=1600,height=900,fit=cover,gravity=auto,format=auto/https%3A%2F%2Fdev-to-uploads.s3.amazonaws.com%2Fuploads%2Farticles%2F1bjcy5dhfmaac3dxcxz5.png)


